How to Cook Rice Without Guessing the Ratio or Ruining the Batch
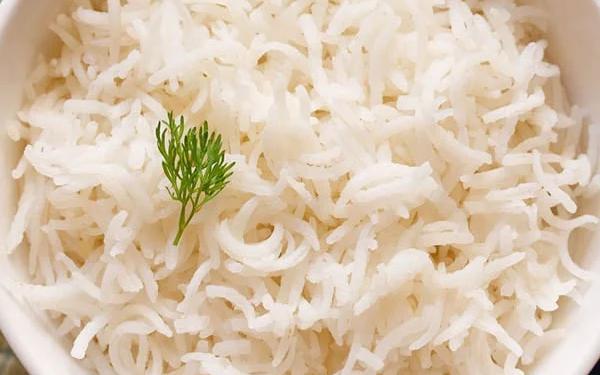
Two problems send most people searching for how to cook rice: a pot that comes out mushy and waterlogged, or one that's still crunchy in the center when the timer says it should be done. Both failures trace back to the same root — applying the wrong water ratio or cook time to the specific type of rice being used. This guide covers the stovetop method, brown rice, the Instant Pot approach, and a comparison table of ratios and times across the most common rice varieties, so the same mistakes don't repeat batch after batch.
Why the Water Ratio Matters More Than the Method
The appliance matters less than most people assume — a rice cooker, Instant Pot, and stovetop saucepan can all produce good rice from the same variety, as long as the water ratio is right for that specific type. The "2 cups water to 1 cup rice" rule that gets passed down as a universal standard is only accurate for some long-grain white rice varieties, and it's actively wrong for jasmine rice (which needs less) and brown rice (which needs considerably more). Getting the ratio dialed in for the specific rice being used produces consistent results regardless of which appliance gets involved.
How Long Does Rice Take to Cook? A Quick-Reference Guide
How long does rice take to cook varies more than most home cooks expect between varieties. On the stovetop, standard long grain white rice takes about 18 minutes at a simmer after coming to a boil. Basmati runs 15–17 minutes, jasmine about 15, and short-grain sushi rice around 15 as well. Brown rice is the outlier — it needs 40–45 minutes at a low simmer, since the bran layer that remains on the grain slows water absorption considerably compared to processed white rice. These times don't include the off-heat rest period, which adds another 10 minutes to every stovetop method regardless of variety.
How to Cook Rice on the Stovetop
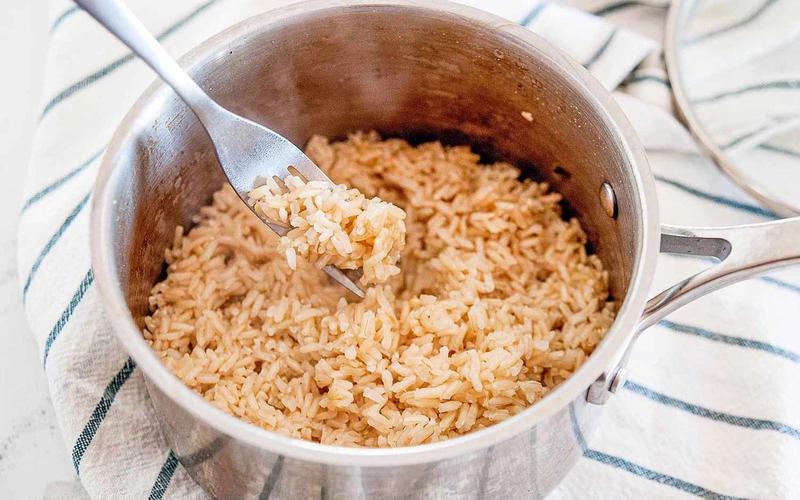
The stovetop method involves five steps: rinse the rice, add water in the correct ratio, bring to a boil, reduce to a low simmer, and leave the lid on without lifting it until the cook time and rest period both end.
The Rinse Question
Rinsing removes surface starch that would otherwise make the finished rice sticky and clumped. Jasmine and short-grain sushi rice benefit most from rinsing — run cold water through the rice in a fine-mesh strainer until the water runs mostly clear, which takes about 30 seconds. Long grain white rice benefits moderately. Brown rice needs less rinsing since its bran layer contains most of its starch internally rather than on the surface.
The Rest Period
After the cook time ends and the heat goes off, leave the lid on and let the pot sit undisturbed for 10 minutes. During this period, the residual steam finishes cooking the grains and the texture sets. Rice checked at the moment the timer ends often seems slightly underdone; the same pot opened after 10 minutes of resting usually looks and tastes exactly right. Lifting the lid mid-cook — to check, stir, or adjust — releases the steam that creates this internal pressure and is the single most common cause of an unevenly cooked, gummy pot of white rice.
How to Cook Brown Rice Without Undercooked Centers
How to cook brown rice follows the same stovetop sequence as white rice, but the ratio and timing are different enough that treating it the same way almost always produces an undercooked result. Brown rice needs 2¼–2½ cups (530–590ml) of water per 1 cup (185g) of rice, compared to 1½–2 cups for most white rice varieties. It also needs 40–45 minutes at a low simmer rather than 18, since the bran layer that gives brown rice more fiber and nutrients — as noted in USDA FoodData Central's nutritional data for cooked brown rice — also creates a physical barrier that slows the rate at which water absorbs into the grain.
The rest period matters even more for brown rice than for white — 10–15 minutes off-heat with the lid on helps the center of each grain finish absorbing without the exterior overcooking. If the center still seems firm after the full cook plus rest time, add 2 tablespoons of water and simmer for another 5 minutes with the lid on before resting again.
How to Cook Rice in an Instant Pot
How to cook rice in Instant Pot uses a fundamentally different ratio than the stovetop, since the sealed pressure cooker environment retains all the steam that would normally escape an open pot during simmering. For most white rice varieties, a 1:1 ratio of rice to water works correctly in the Instant Pot — the same 1 cup (185g) of rice needs only 1 cup (240ml) of water rather than 1½–2 cups. Add the rice and water to the inner pot, seal the lid with the valve in the Sealing position, and pressure cook on high for 3 minutes. Let pressure release naturally for 10 minutes, then move the valve to Venting to release any remaining pressure before opening. Brown rice in the Instant Pot needs 22 minutes on high pressure with the same 10-minute natural release. For more on using an Instant Pot across different recipes, this instant pot recipes guide covers the appliance's other core functions beyond rice.
How Long to Cook Rice: Comparison Table
Cook time and water ratio are the two variables that differ most across rice varieties — everything else in the method stays the same. The table below covers how long to cook rice for the most common types across both stovetop and Instant Pot methods.
| Rice Type | Water Ratio (stovetop) | Stovetop Time | Instant Pot Time | Best Use |
|---|---|---|---|---|
| White (long grain) | 1:1.5–2 | 18 min | 3 min HP + 10 NR | Everyday side dish |
| Basmati | 1:1.5 | 15–17 min | 3 min HP + 10 NR | Biryani, pilaf |
| Jasmine | 1:1.25 | 15 min | 3 min HP + 10 NR | Thai dishes, fried rice |
| Brown Rice | 1:2.25–2.5 | 40–45 min | 22 min HP + 10 NR | Whole grain, hearty sides |
| Short Grain (sushi) | 1:1.1 | 15 min | 3 min HP + 10 NR | Sushi, sticky dishes |
HP = high pressure; NR = natural release.
How to Cook Quinoa in a Rice Cooker (and When to Use One)
Most rice cookers handle quinoa just as reliably as rice, which makes the appliance more useful than its name suggests. How to cook quinoa in rice cooker: rinse 1 cup (170g) of quinoa in a fine-mesh strainer to remove the bitter saponin coating, add it to the cooker with 2 cups (480ml) of water or broth, and run the white rice cycle. The cooker switches to warm automatically once the liquid absorbs, and the quinoa finishes in roughly 25–30 minutes depending on the model.
A rice cooker earns its counter space when rice or grains get cooked frequently enough that a dedicated appliance reduces daily decision-making. It doesn't produce meaningfully better rice than a stovetop pot with an accurate ratio — the advantage is that it turns itself off automatically, making it forgiving for anyone who regularly loses track of a simmering pot.
Common Mistakes and Tips for Better Rice
Don't stir rice during cooking — agitating the starch produces gummy, clumped grains that stick together rather than staying separate. Don't lift the lid mid-cook for the same reason. Always measure by consistent volume using a standard measuring cup rather than an approximated vessel, since volume differences throw off the ratio. Cold leftover rice stored uncovered in the fridge overnight makes noticeably better fried rice the following day, since the dried-out, separated grains fry crisply without releasing moisture and steaming in the pan.
On food safety: cooked rice left at room temperature for more than two hours falls into the USDA-defined "danger zone" (40°F–140°F / 4°C–60°C), where bacteria can multiply rapidly. The USDA's food safety guidelines on proper food storage state that cooked rice should be refrigerated within two hours and used within 3–4 days — leaving it out overnight specifically for fried rice is therefore not a recommended food safety practice; refrigerating promptly and using cold the next day achieves the same texture result safely.
What to Make With Cooked Rice
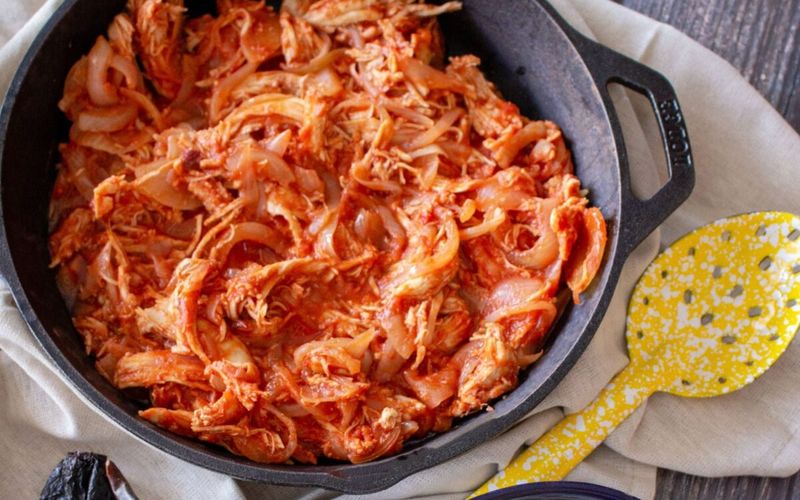
A properly cooked pot of long grain white rice or jasmine rice works as the base for a fried rice recipe the following day — the cold, dried-out grains fry without clumping, producing the separated texture that fresh-cooked rice can't achieve. Mexican rice, made by toasting dry rice in oil with tomato, garlic, and chicken broth, starts from raw rice but follows the same simmer-and-rest principle once liquid is added. Rice also works as a base for grain bowls, a side dish alongside sauced proteins, or a filling for burritos and wraps. The chicken tinga recipe serves particularly well over rice as a one-bowl meal, since the smoky chipotle sauce absorbs into the grains the same way it does into the shredded chicken.
FAQ
What is the ratio of water to rice?
For most long grain white rice, the standard ratio is 1 cup rice to 1½–2 cups water on the stovetop, depending on the variety. Jasmine rice needs less water (about 1¼ cups per cup), while brown rice needs more (about 2¼–2½ cups per cup) and a longer cook time.
Why is my rice mushy?
Too much water is the most common cause, along with stirring the rice during cooking or lifting the lid repeatedly, which lets steam escape and forces more water absorption to compensate. Using the correct ratio for the specific rice variety and keeping the lid on until the rest period ends usually solves it.
Can you cook rice in an Instant Pot?
Yes — most white rice varieties cook on high pressure for 3 minutes with a 10-minute natural release, using a 1:1 water-to-rice ratio. The sealed environment retains all the steam that would normally escape a stovetop pot, which is why the ratio drops compared to stovetop cooking.
How do I know when rice is done cooking?
After the cook time ends on the stovetop, check for water absorption by tilting the pot — no visible water should pool at the bottom. Let the rice rest off-heat with the lid on for 10 minutes before lifting to check, since the final texture sets during this period.
Does rice need to be rinsed before cooking?
Rinsing removes excess surface starch, which reduces clumping and produces a cleaner, more separate grain once cooked. Starchy varieties like jasmine and sushi rice benefit most from rinsing. Long grain white rice benefits moderately. Brown rice needs less rinsing since it retains its bran layer.
Conclusion
How to cook rice consistently comes down to matching the water ratio and cook time to the specific rice type rather than applying one universal rule across all varieties. The comparison table above serves as the most useful quick reference for this — pull the correct numbers for the rice being used before starting. For a hands-off result with no monitoring, the Instant Pot method with a 1:1 ratio handles most white rice varieties reliably. For more vegetarian grain-based sides to pair alongside, browse the full vegetarian recipe collection.
Tags